
How to Convert PNG to WebP (Step by Step)
July 2, 2026 Updated July 2, 2026 By imageresize.cc
Opening a file on the wrong device often starts with the wrong format. This guide explains how to convert PNG files to WebP in your browser — handy for HEIC iPhone shots, WebP exports, and older JPG workflows.
What you'll need
- The source image (HEIC, PNG, WebP, TIFF, and more)
- An idea of your output format (JPG for photos, PNG for transparency)
- A browser tab — no plugins required
Step 1: Open the converter
Visit imageresize.cc/convert-png-to-webp — the Convert tab opens with WebP pre-selected. Bookmark the page if you use this workflow often.
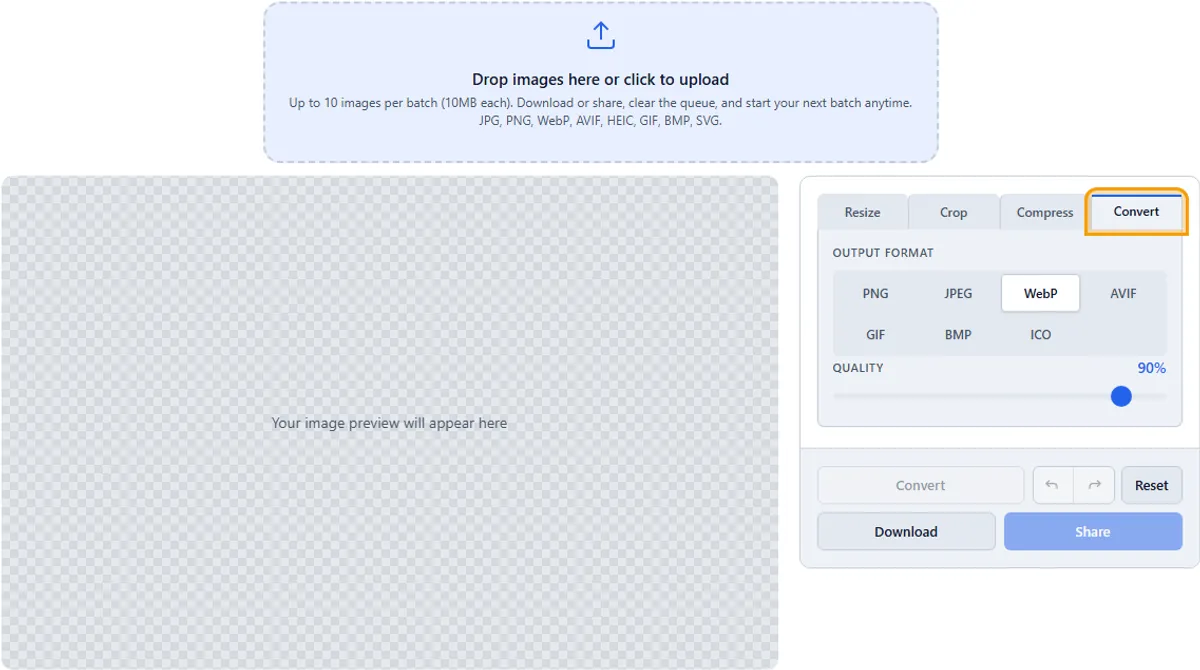
Step 2: Upload your file
Add your PNG image. HEIC and TIFF files are handled automatically even if your browser cannot preview them natively. If the preview looks wrong, check you picked the correct source file.
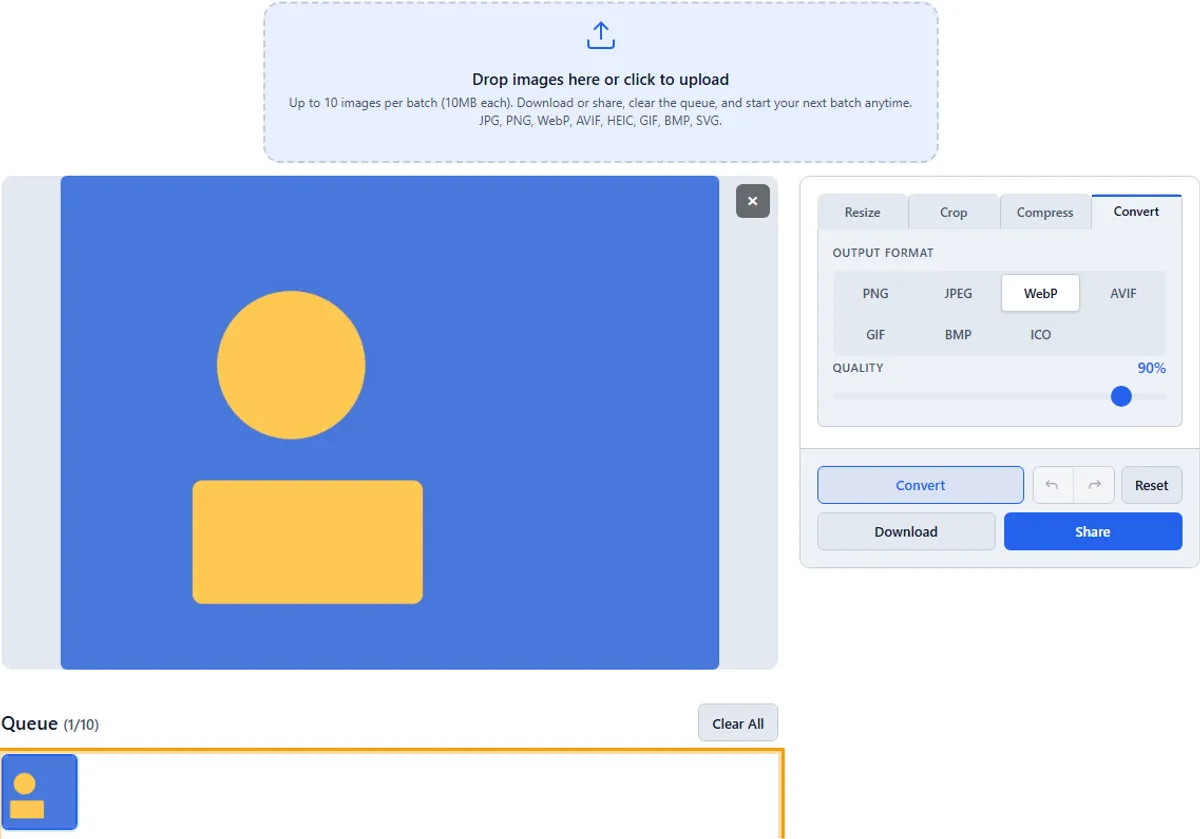
Step 3: Adjust quality
For WebP output, set the quality slider. Higher values preserve detail; lower values shrink file size.

Step 4: Apply and download
Click Apply, preview the result, then Download or Share your converted file.

Practical tip
Converting to WebP can significantly reduce file size for web use while keeping good visual quality.
Try it yourself
When you are happy with the preview, download to your device or share a link — your choice. Open the PNG to WebP Converter →
Related: Open the tool · Image converter hub · HEIC converter
Common questions
Will I lose quality converting PNG to WebP?
Some lossy formats reduce quality slightly. Use the quality slider and preview before downloading.
Is my file uploaded to a server?
Editing happens in your browser. Files upload only when you click Download or Share.