
How to Use the Photo Resizer (Step by Step)
July 6, 2026 By imageresize.cc
This tutorial is for anyone who wants to resize any photo quickly and keep full control over output format and quality.
What you'll need
- One or more images (up to 10 per batch, 10 MB each)
- Any modern browser on computer, tablet, or phone
- No account — start immediately
Step 1: Open the tool
Go to imageresize.cc and open the Photo Resizer. No account or download is required. Bookmark the page if you use this workflow often.
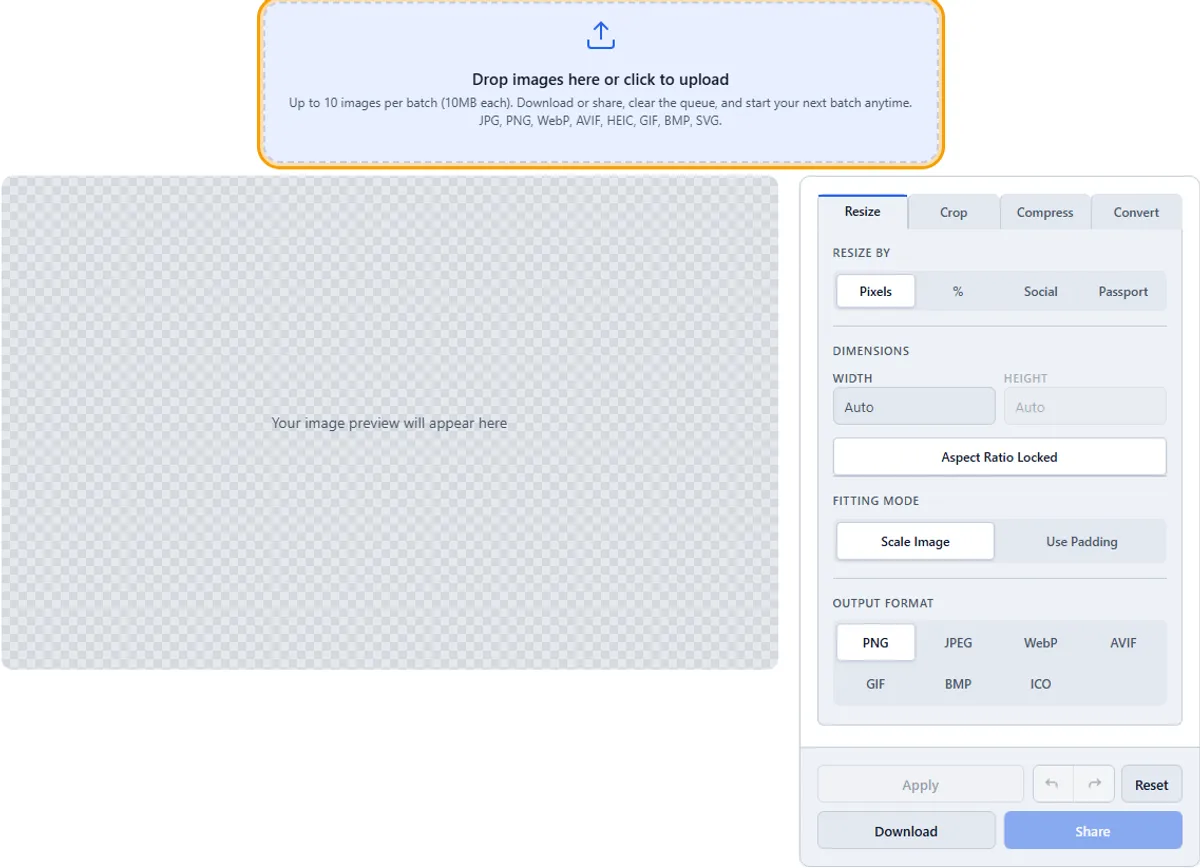
Step 2: Upload your image
Drag and drop your file onto the upload area, or click to browse. You can add up to 10 images per batch (10 MB each). If the preview looks wrong, check you picked the correct source file.

Step 3: Configure settings
Set the options you need to resize any photo. Use the live preview to check the result before exporting.
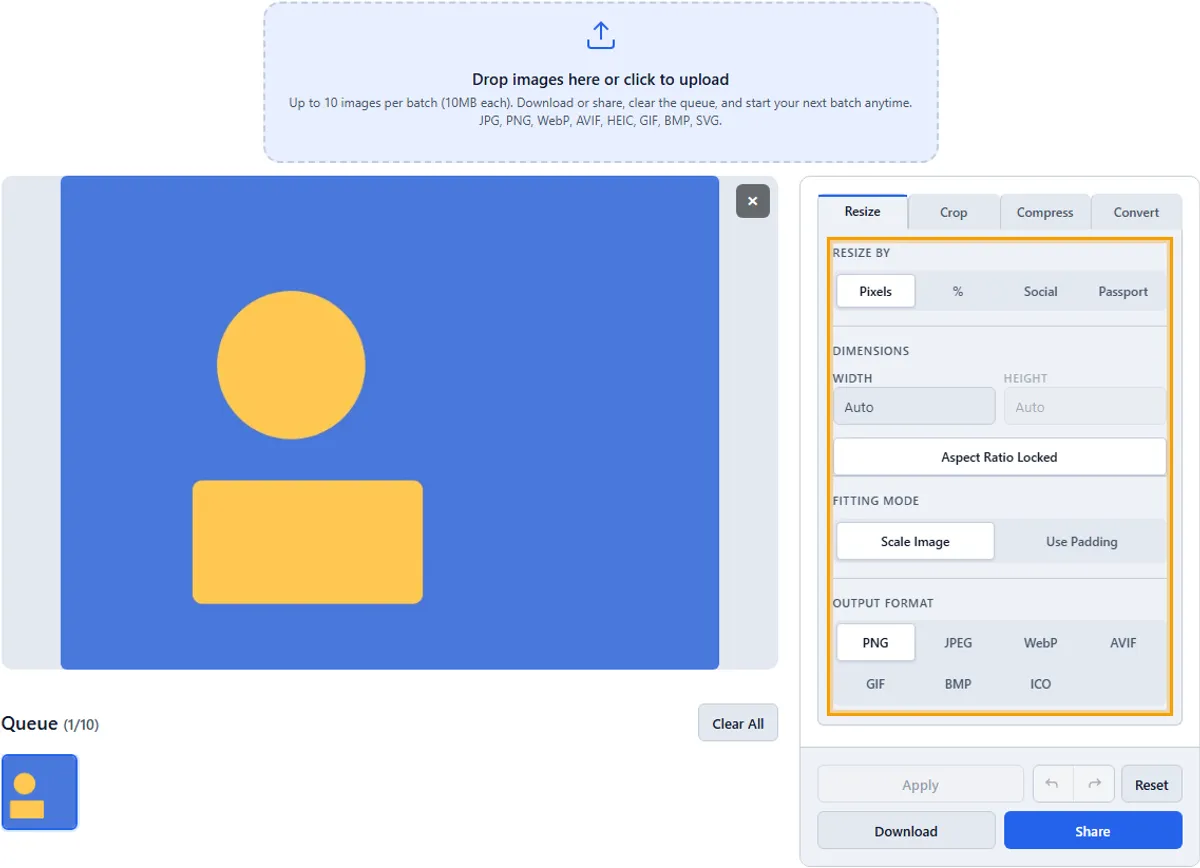
Step 4: Apply and preview
Click Apply to update the canvas preview. Use Undo if you want to try different settings.

Step 5: Download or share
Click Download to save to your device, or Share to get a secure link with optional password and expiry.

Practical tip
Check My Active Shares if you need to re-download or re-share a file within 48 hours.
Try it yourself
You can run another batch anytime: clear the queue and upload up to 10 new images. Open the Photo Resizer →
Related: Open the tool · How imageresize.cc works · FAQ
Common questions
Do I need to install software?
No. Everything runs in your browser on desktop, tablet, or phone.